Have you heard of shiplap—a type of wood paneling that’s made up of boards with a groove cut into the top and bottom that overlap to create a tight seal? Shiplap, with its clean lines and rustic charm, can transform any room, creating a cozy, inviting atmosphere. However, to achieve this transformation, shiplap installation must be done the right way. In this blog post, we will share our top 10 shiplap installation tips to ensure your DIY project is a success.
1. Plan and Measure Your Space

Before diving into your shiplap project, it’s crucial to plan and measure your space accurately. Decide which walls you want to cover and measure their height and width. Purchase about 10-15% more material than you need to account for mistakes and future repairs. Having a detailed plan ensures you won’t run out of materials and that your shiplap will fit perfectly.
2. Choose the Right Type of Shiplap
There are various types of shiplap available, including pine, cedar, and MDF. Pine and cedar are great for a natural, rustic look, while MDF is a more budget-friendly option that can be painted any color. Consider the room’s existing décor and your overall vision when choosing the type of shiplap.
3. Prepare the Wall Surface
Preparing your wall surface is a critical step in shiplap installation. Remove any existing wallpaper, outlet covers, and baseboards. Fill in any holes or cracks with spackle and sand them smooth. A clean, smooth surface ensures that your shiplap adheres properly and looks professional.
4. Install a Level Starter Board
Start your shiplap installation by securing a level starter board at the bottom of your wall. This board will serve as a guide for the rest of the installation, ensuring that your boards are perfectly straight. Use a level to check and double-check your starter board before proceeding.
5. Use Nickel Spacers for Consistent Gaps
To achieve that classic shiplap look, you need consistent gaps between each board. Use nickel spacers to maintain uniform spacing as you work your way up the wall. This small detail makes a big difference in the final appearance of your shiplap installation.
6. Stagger Your Boards
Staggering your boards is essential for a natural and professional look. Cut your boards at different lengths so that the seams don’t all line up, creating a more visually appealing pattern. This technique also helps to strengthen the overall structure of your shiplap wall.
7. Secure the Boards Properly
Use a combination of adhesive and nails to secure your shiplap boards to the wall. Apply a construction adhesive to the back of each board before nailing it into place. This double method ensures that your boards stay put and reduces the risk of warping or shifting over time.
8. Paint or Stain Before Installation
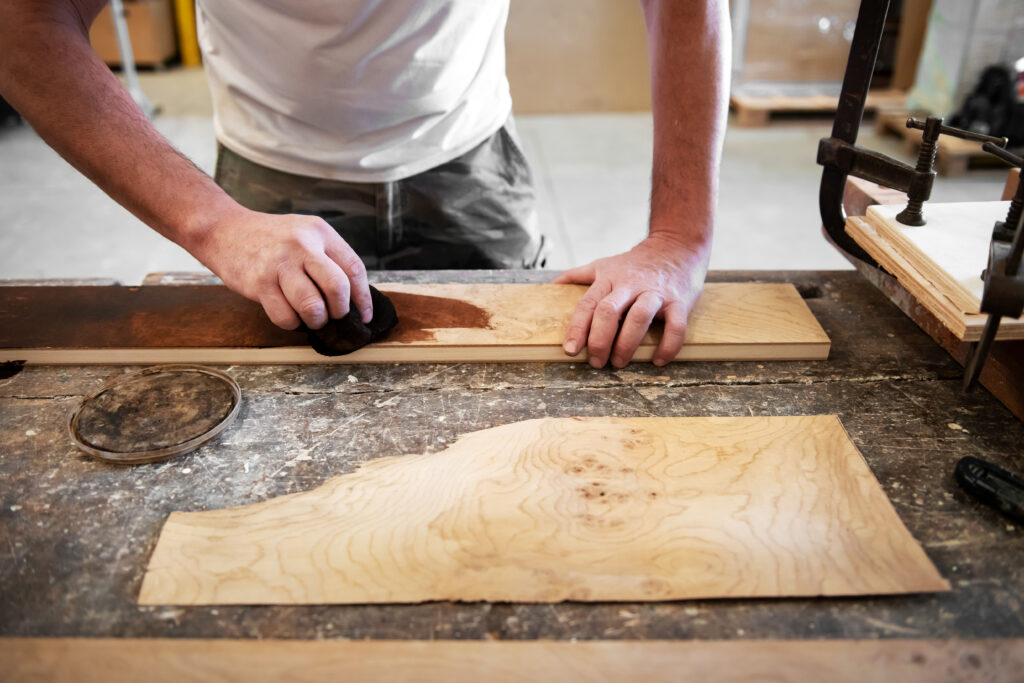
For a cleaner finish, consider painting or staining your shiplap boards before installation. This method allows you to cover every edge and nook, preventing any unfinished wood from showing. Plus, it saves you from having to meticulously paint around outlets and trim later.
9. Address Outlets and Switches
When you encounter an outlet or light switch, measure and cut your shiplap boards to fit around them. This step can be a bit tricky, so take your time to ensure precise cuts. Use a jigsaw or a hole saw to make the necessary openings, and remember to turn off the power before working around electrical components.
10. Finish with Trim
Once all your shiplap boards are in place, complete the look with trim. Adding trim around the edges and corners gives your shiplap installation a polished, finished appearance. Choose a trim that complements your shiplap and room décor for the best results.

Conclusion
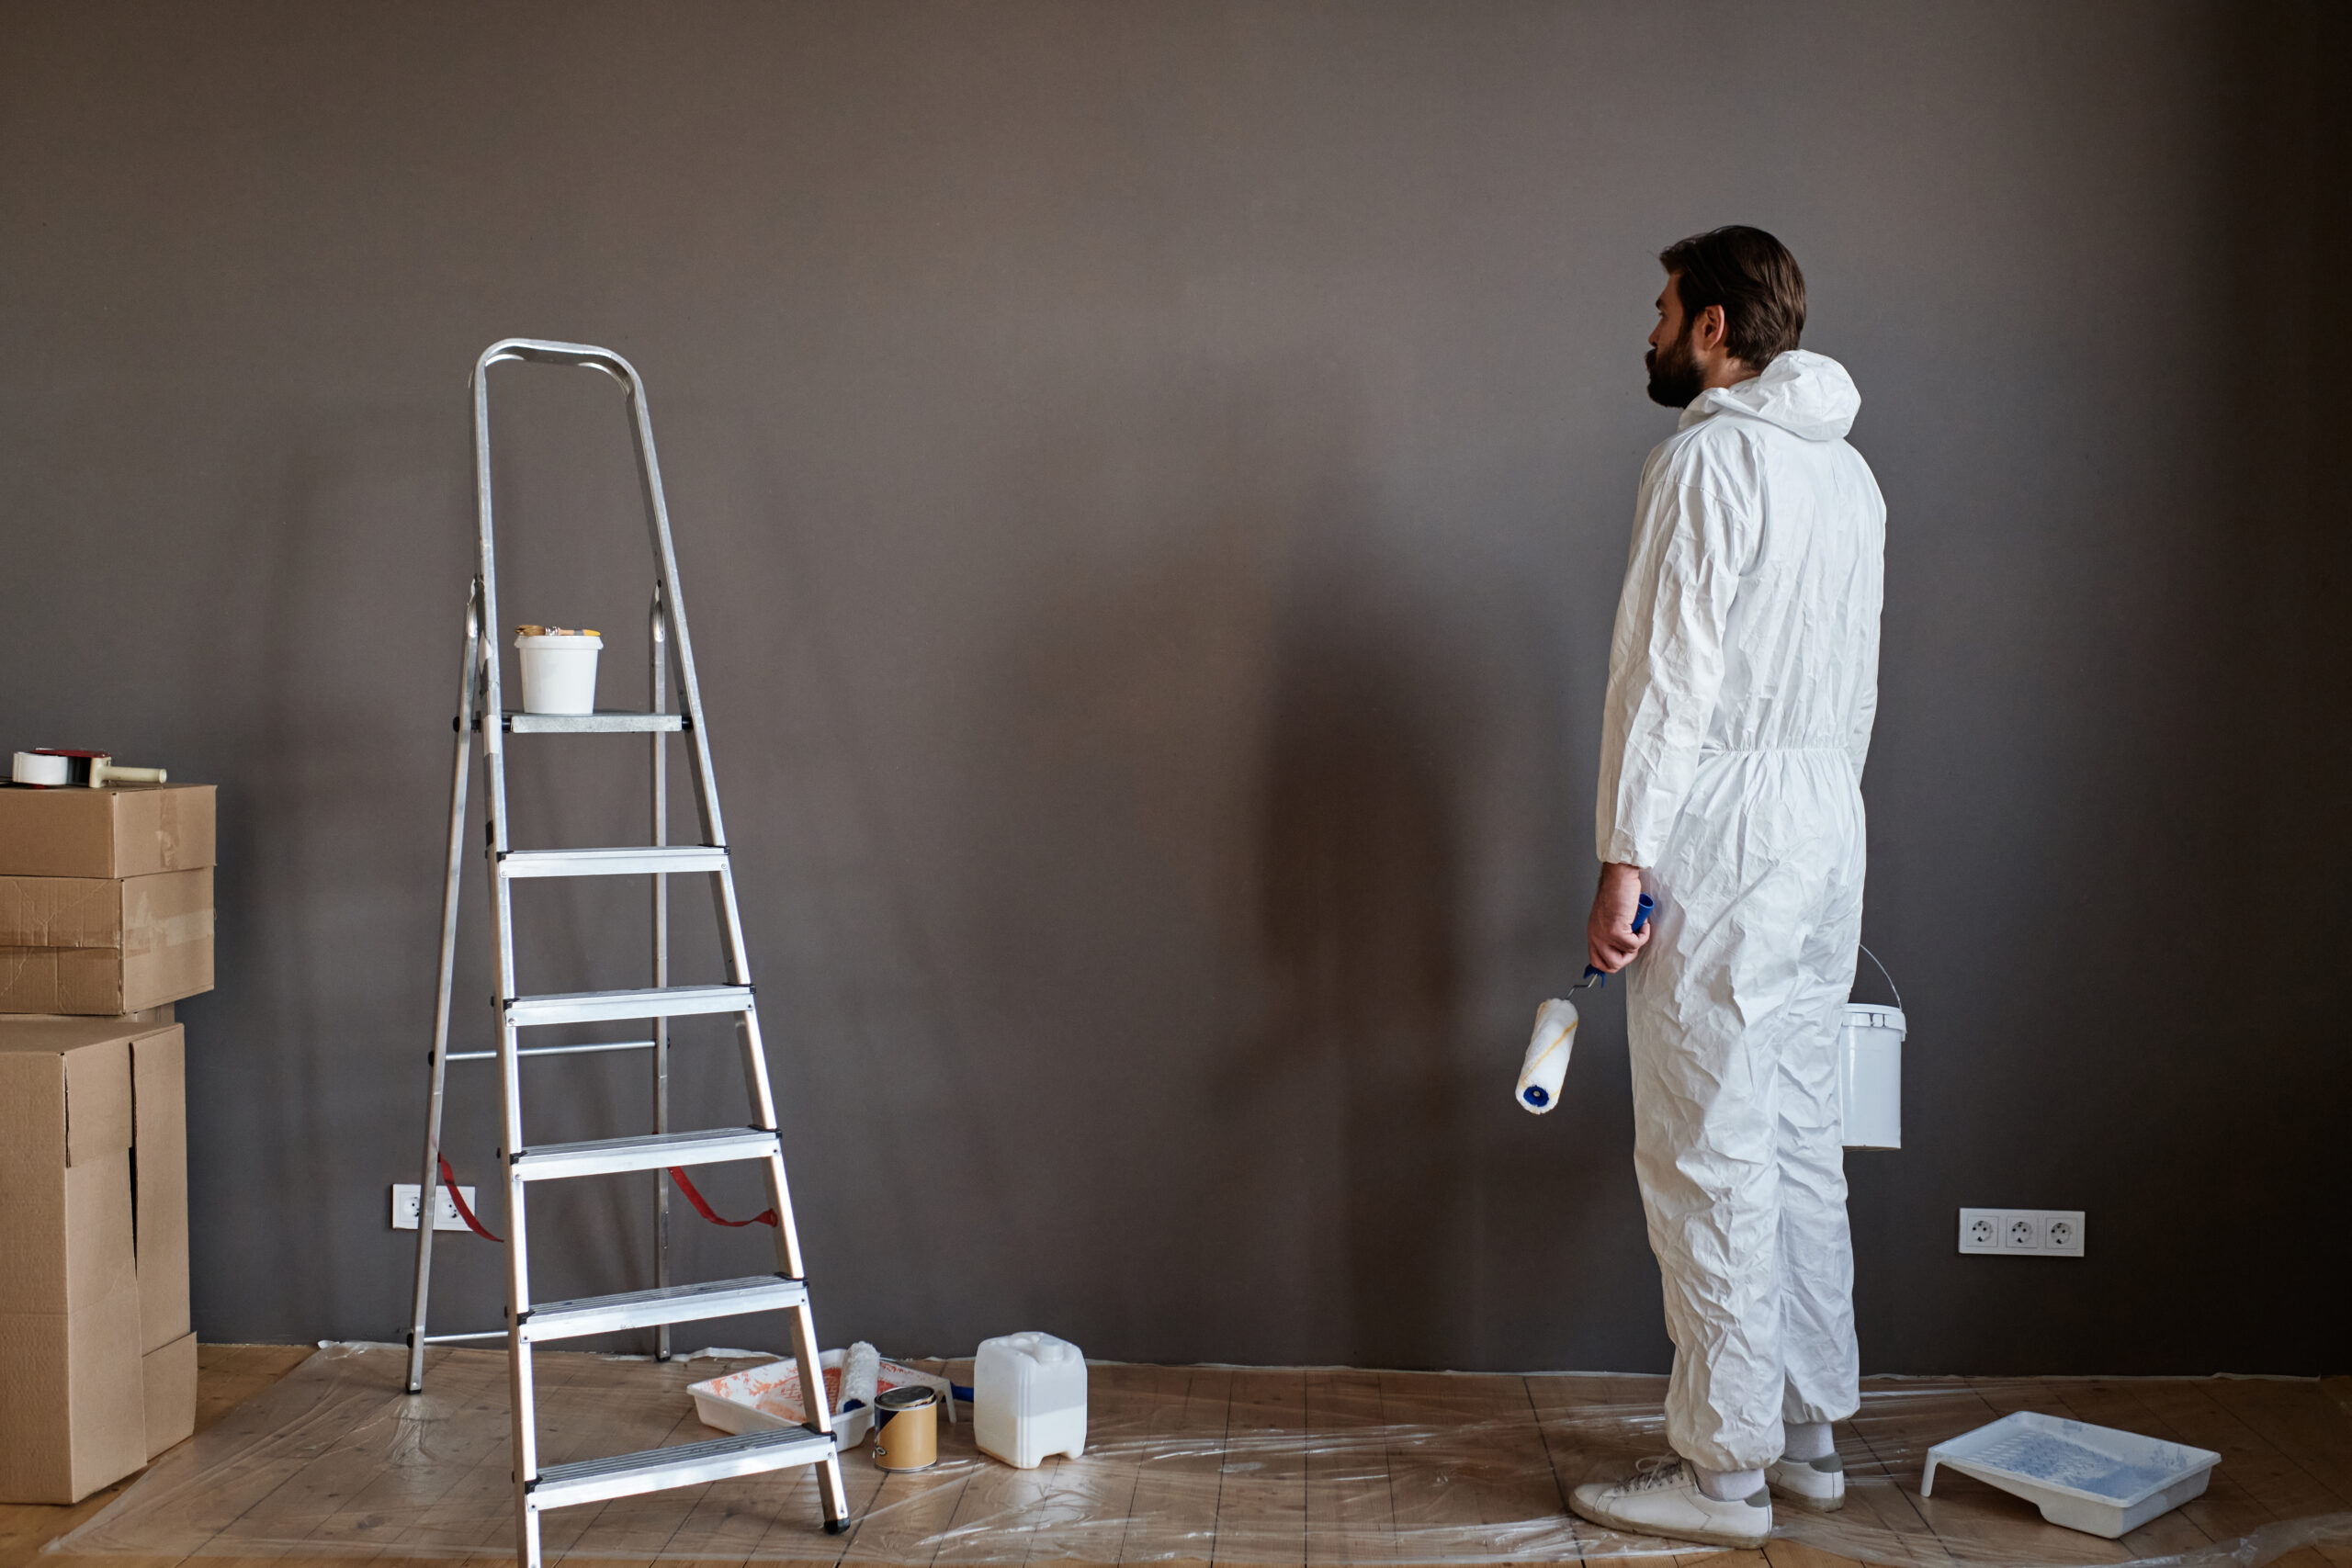
Shiplap installation can indeed be a DIY project that transforms your living space, adding charm and character to any room. By following these shiplap installation tips, you can achieve a professional-looking result that you’ll be proud to show off. However, for those who want to ensure maximum quality and impact, seeking the help of a professional is always a wise decision.
If you’re ready to transform your living space with a beautiful shiplap installation but want to leave it to the experts, Top Rated Painting is here to help. Our experienced team can provide a flawless finish that will elevate your home’s interior. Contact us today to schedule a free estimate and take the first step toward your dream shiplap project!