Are you looking for an affordable yet impactful way to beautify your home? Repainting your cabinets might be the perfect solution. This straightforward home improvement project can dramatically transform the look and feel of your kitchen or bathroom, giving it a fresh and updated appearance. However, to achieve a professional and lasting finish, it’s essential to approach the task with care and preparation. In this blog post, we’ll share our top 10 cabinet repainting tips to help you achieve a stunning result.
1. Plan and Prepare Your Project

painting contractor utah top rated painting
The first step in any successful painting project is thorough planning and preparation. Before you even pick up a brush, take the time to decide on the color and finish you want for your cabinets. Consider how the new color will complement your existing décor. Gather all necessary supplies, including high-quality paint, primer, sandpaper, brushes, rollers, and painter’s tape. Proper preparation can save you time and frustration later on.
2. Clean and Degrease Your Cabinets
Cabinets, especially in the kitchen, can accumulate grease and grime over time. Cleaning your cabinets thoroughly before painting is crucial to ensure that the paint adheres properly. Use a degreasing cleaner or a mixture of warm water and dish soap. Wipe down all surfaces and let them dry completely. This step is essential for a smooth and durable finish.
3. Remove Hardware and Doors
To achieve a professional look, it’s best to remove all cabinet doors, drawers, and hardware. Label each piece to ensure easy reassembly later. Removing these components allows you to paint all surfaces evenly and prevents paint from getting on hinges or knobs. Place screws and small hardware in labeled bags to keep them organized.
4. Sand Surfaces for Better Adhesion

Sanding your cabinets is a crucial step that should not be skipped. Use medium-grit sandpaper (around 120-grit) to lightly sand all surfaces you plan to paint. This helps to remove the glossy finish and provides a better surface for the primer and paint to adhere to. After sanding, wipe down the surfaces with a damp cloth to remove any dust.
5. Apply a High-Quality Primer
Priming is an essential step in the painting process. A high-quality primer will help the paint adhere better and provide a uniform base color, especially if you are painting over dark or stained wood. Apply the primer with a brush or roller, making sure to cover all surfaces evenly. Allow the primer to dry completely before moving on to painting.
6. Choose the Right Paint
Selecting the right paint for your cabinets is crucial for achieving a durable and attractive finish. Semi-gloss or satin finishes are popular choices for cabinets because they are easy to clean and resistant to moisture. Ensure that the paint you choose is specifically formulated for cabinets or wood surfaces. High-quality paint will provide better coverage and durability.
7. Use Proper Painting Techniques
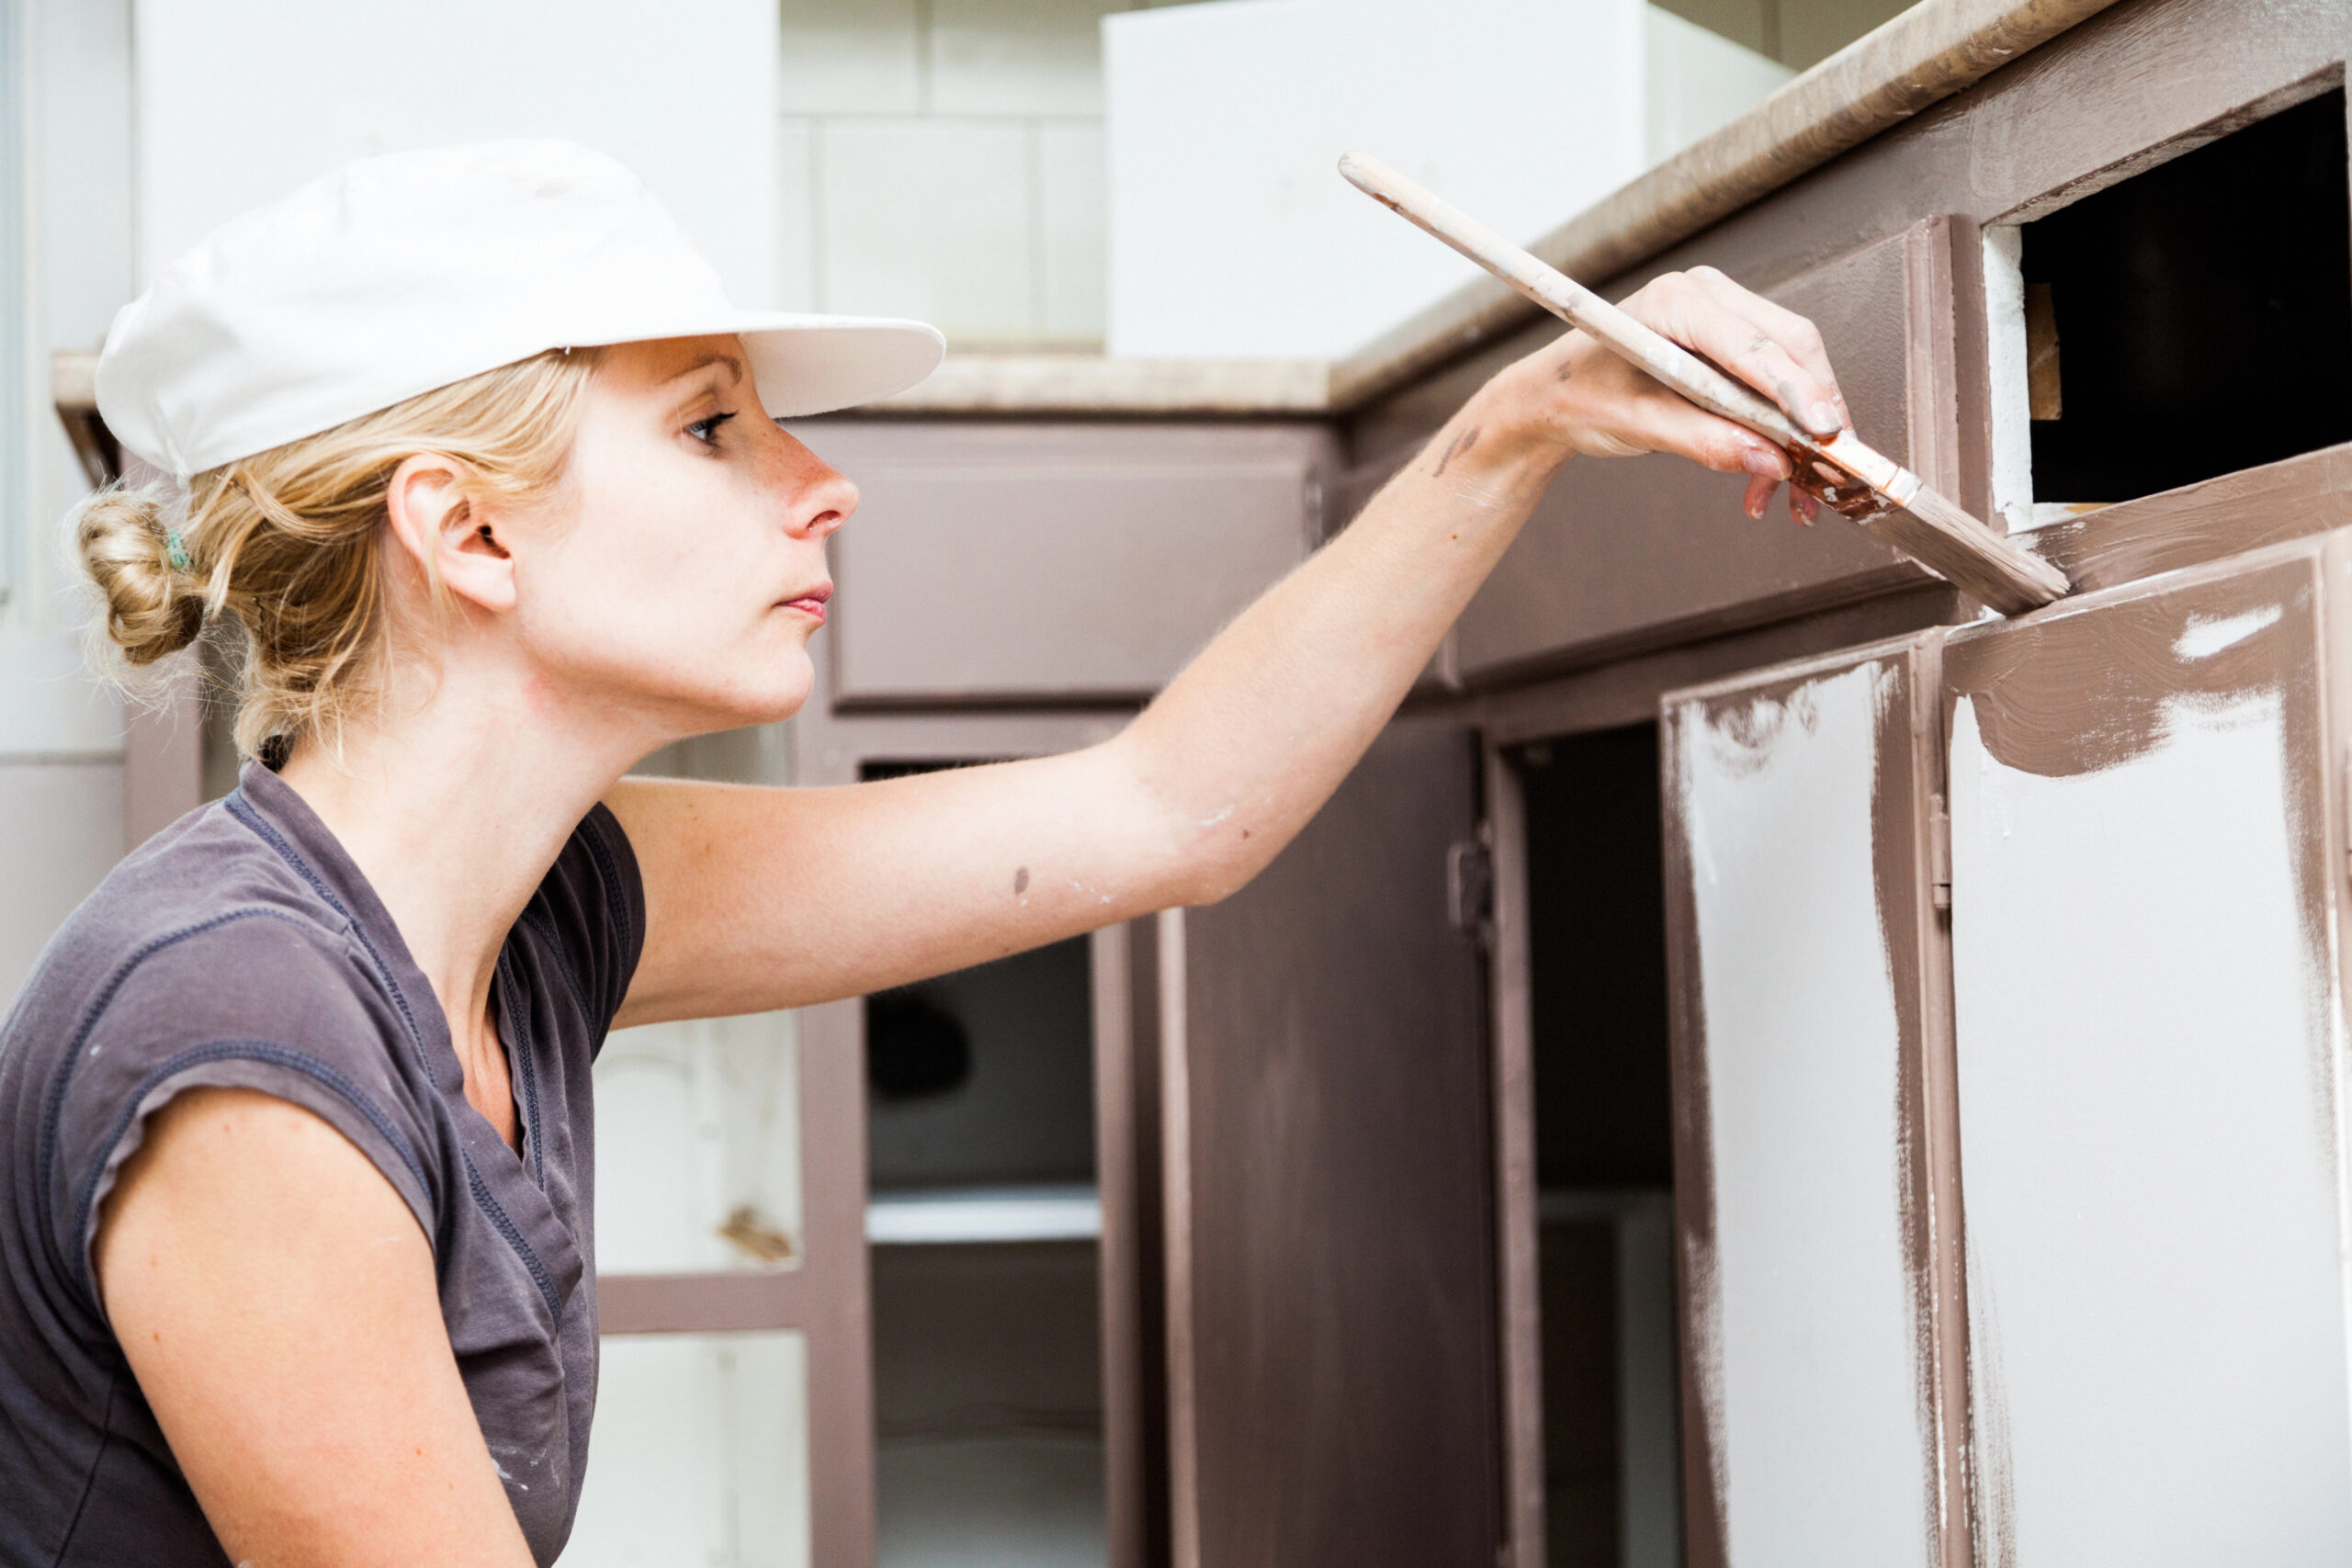
To achieve a smooth and professional finish, use proper painting techniques. Start by painting the edges and corners with a brush, then use a roller for larger, flat surfaces. Apply thin, even coats of paint, allowing each coat to dry completely before applying the next. This helps to avoid drips and uneven coverage. Depending on the paint, you may need two or three coats for full coverage.
8. Allow Adequate Drying Time
Patience is key when repainting cabinets. Allow adequate drying time between each coat of primer and paint. This will ensure that each layer is fully cured and will prevent smudging or peeling later on. Follow the manufacturer’s recommendations for drying times, and avoid using the cabinets until the final coat is completely dry.
9. Reassemble Your Cabinets Carefully

Once the paint is fully dry, it’s time to reassemble your cabinets. Carefully reattach the doors, drawers, and hardware, making sure everything is aligned properly. Take your time with this step to avoid scratching or damaging your freshly painted surfaces. If you labeled all parts and hardware during disassembly, this process should be straightforward.
10. Add Finishing Touches
The final step in your cabinet repainting project is to add any finishing touches. Consider replacing old hardware with new knobs or handles for an updated look. Touch up any areas that may need extra attention, and give your cabinets a final wipe-down to remove any dust or fingerprints. These small details can make a big difference in the overall appearance of your cabinets.
Consider Professional Help for Best Results
While repainting your cabinets can be a rewarding DIY project, achieving a flawless finish requires time, patience, and attention to detail. If you’re unsure about tackling this task on your own or want to ensure the highest quality results, it’s worth considering the help of a professional painting contractor. Professional painters have the experience, tools, and expertise to deliver a stunning and long-lasting finish that can truly transform your space.
Ready to give your cabinets a fresh new look? Contact Top Rated Painting today to schedule a free estimate with our experienced team. Let us help you achieve the beautiful, professional results you deserve. Your dream kitchen or bathroom is just a call away!


