Painting your home can be an incredibly rewarding DIY project, transforming the look and feel of your space. However, it can also come with its fair share of challenges. Drips, streaks, and other common painting problems can turn an exciting endeavor into a frustrating experience. Fortunately, with a bit of know-how and the right techniques, you can tackle these issues head-on and achieve a professional-looking finish. In this article, we’ll guide you through some of the most common painting problems and how to fix them, while also highlighting when it’s best to call in the experts at Top Rated Painting.
1. Drips and Runs
What Causes Them?
Drips and runs usually occur when too much paint is applied to the surface at once, or when the paint is too thin. These unsightly blemishes can ruin the smooth finish you’re aiming for.
How to Fix Drips and Runs
- Preventing Drips: Start by using the right amount of paint. Dip your brush or roller lightly and tap off any excess. Use multiple thin coats rather than one heavy coat.
- Fixing Fresh Drips: If you catch a drip while it’s still wet, simply use your brush or roller to smooth it out. Feather the edges to blend it seamlessly with the surrounding paint.
- Fixing Dried Drips: For dried drips, you’ll need to sand the area lightly with fine-grit sandpaper until the surface is smooth. Clean off the dust, then repaint the area, blending it with the surrounding paint.
2. Streaks and Lap Marks
What Causes Them?
Streaks and lap marks occur when paint is applied unevenly or when the edges of wet and dry paint overlap. This can happen if you don’t maintain a wet edge or if you’re painting in hot, dry conditions.
How to Fix Streaks and Lap Marks
- Preventing Streaks: Work in small sections and maintain a wet edge by overlapping each stroke of the brush or roller slightly. Avoid painting in extreme temperatures and use a paint extender to increase the drying time if necessary.
- Fixing Streaks: Lightly sand the streaked area to smooth it out, then apply another thin coat of paint, ensuring you maintain a wet edge this time.
3. Brush Marks
What Causes Them?
Brush marks are often the result of using the wrong type of brush, not loading the brush properly, or not applying the paint evenly.
How to Fix Brush Marks
- Preventing Brush Marks: Choose a high-quality brush suitable for your paint type (natural bristle for oil-based paints, synthetic for water-based). Load your brush correctly, tapping off any excess, and use long, smooth strokes to apply the paint evenly.
- Fixing Brush Marks: Sand the area lightly with fine-grit sandpaper to smooth out the brush marks. Clean off the dust and repaint the area with a properly loaded brush and even strokes.
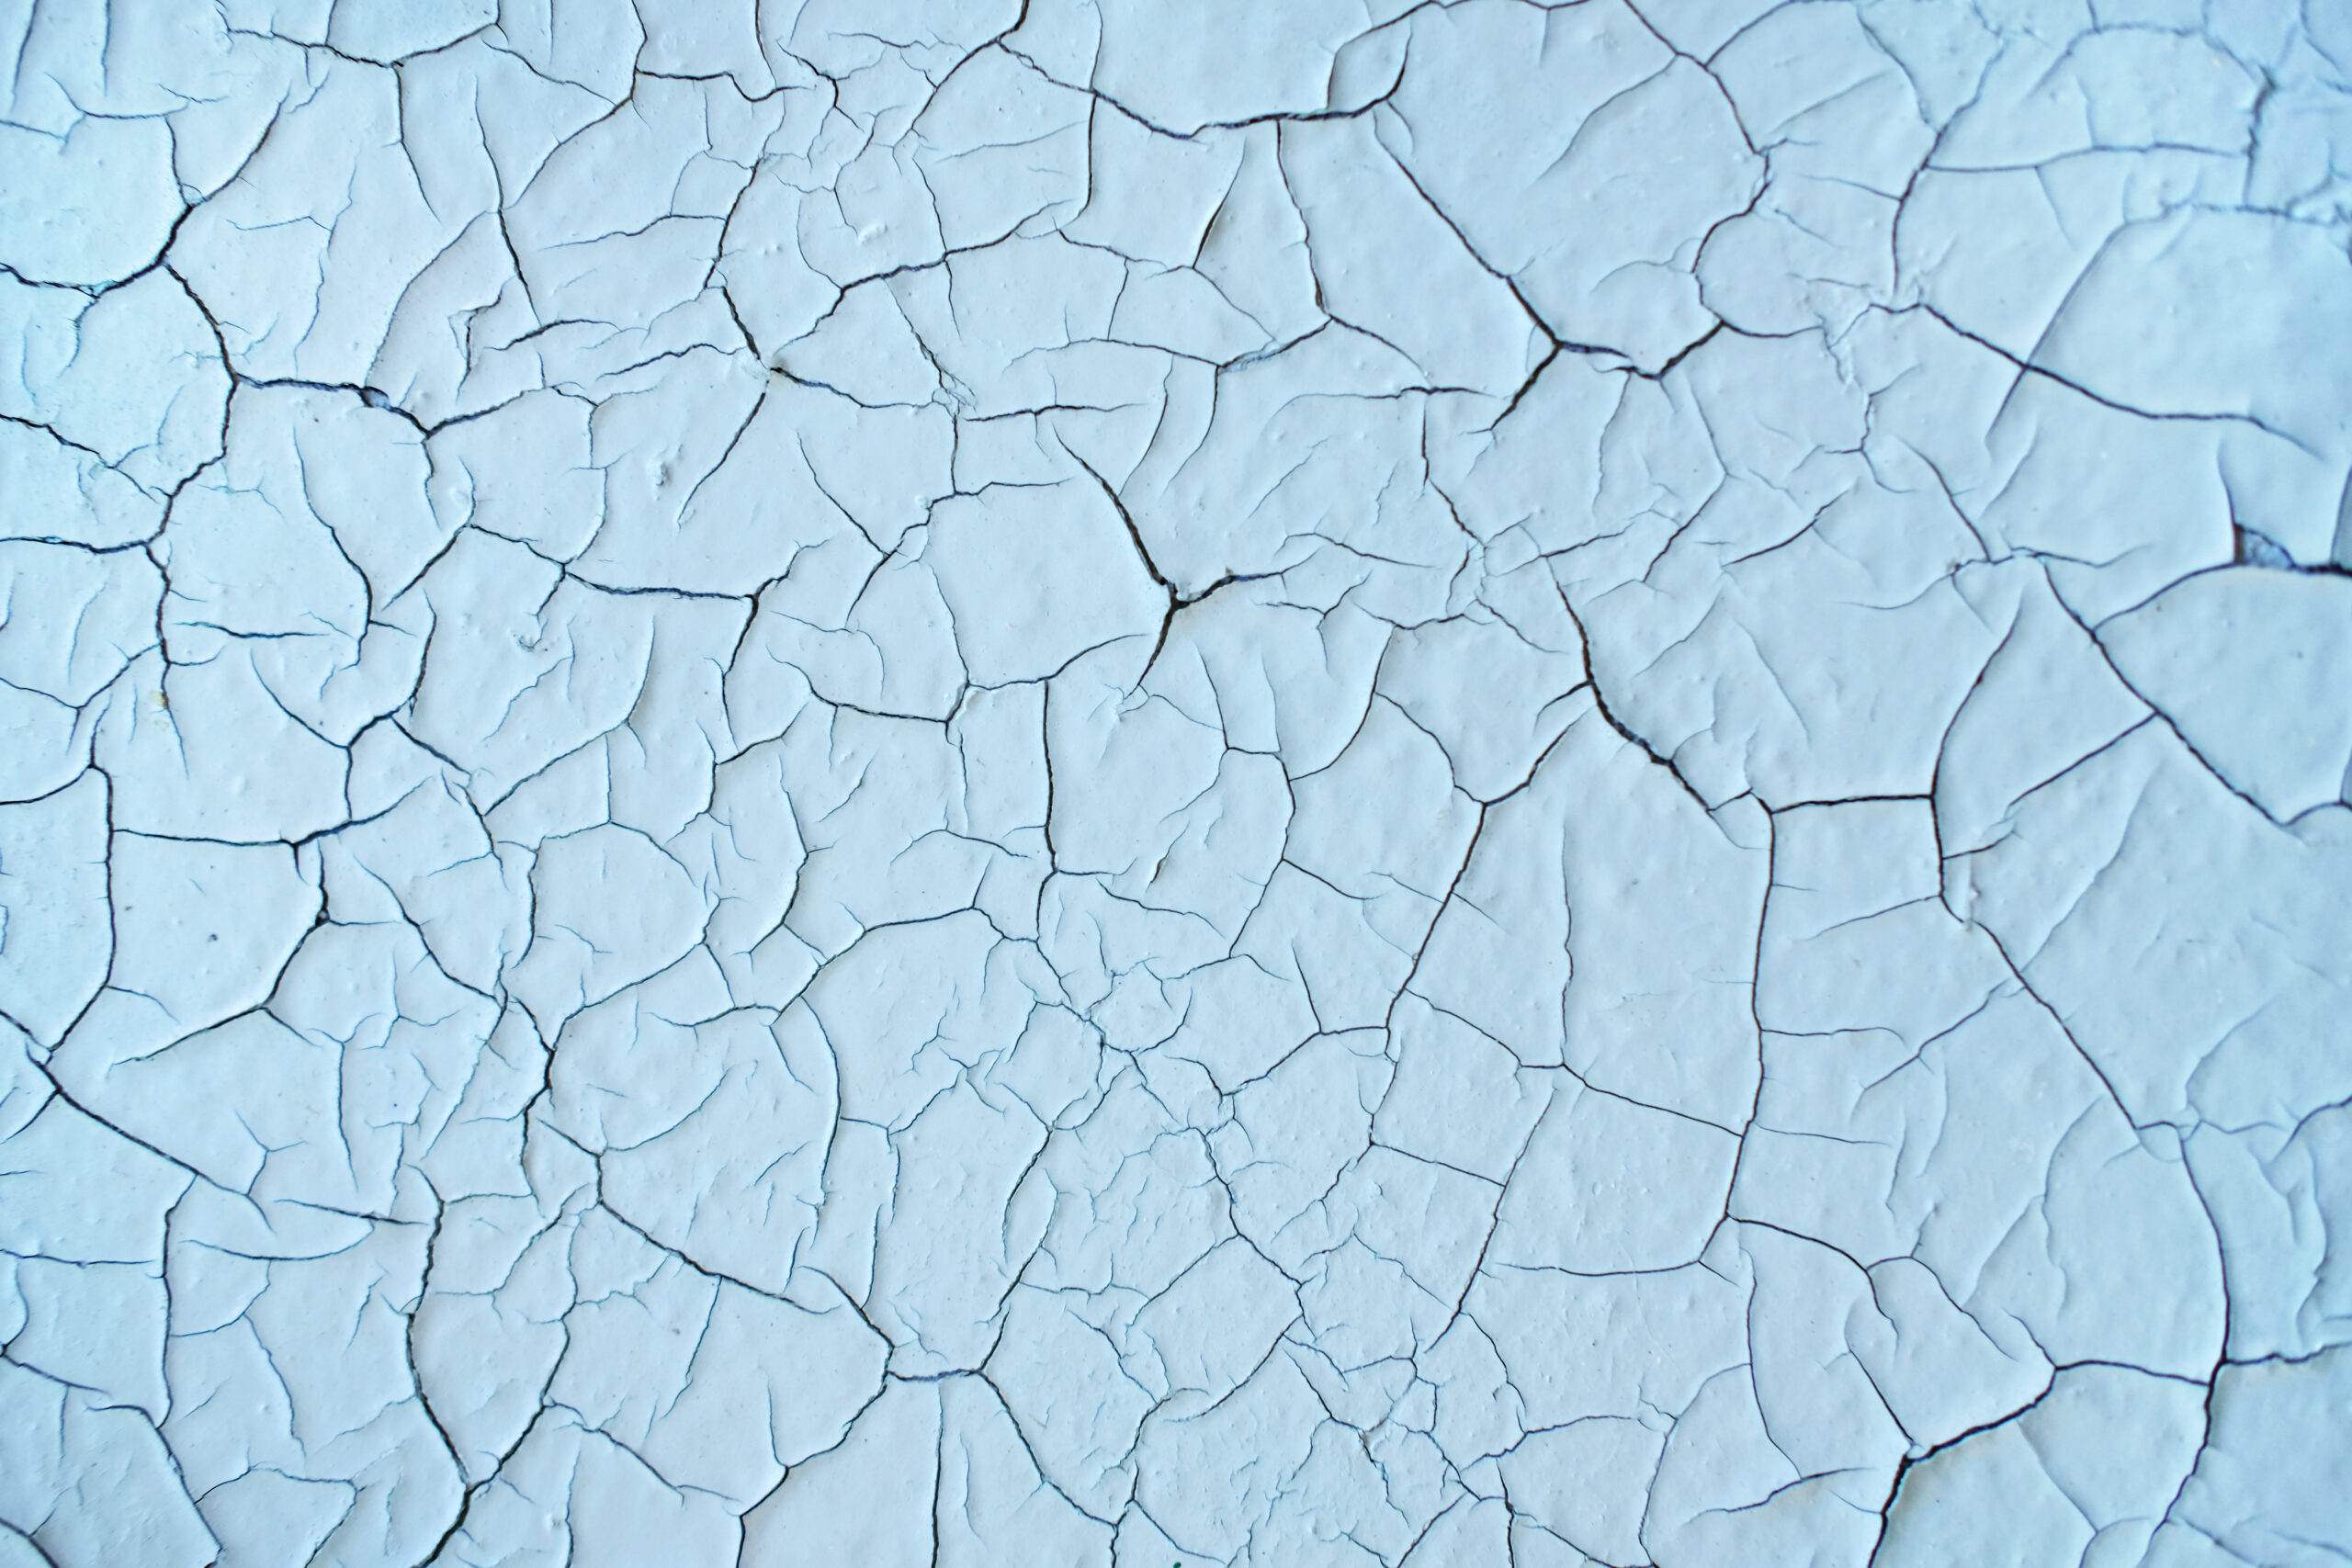
4. Peeling Paint
What Causes It?
Peeling paint is typically caused by poor surface preparation, moisture, or using the wrong type of paint for the surface.
How to Fix Peeling Paint
- Preventing Peeling: Always prepare the surface properly by cleaning, sanding, and priming as needed. Use the correct type of paint for the surface and ensure it is applied in suitable conditions.
- Fixing Peeling Paint: Remove the peeling paint by scraping and sanding the area. Clean the surface thoroughly, prime if necessary, and then repaint using the appropriate paint.
5. Blistering or Bubbling Paint

What Causes It?
Blistering or bubbling paint is usually due to moisture or painting in direct sunlight, causing the paint to dry too quickly.
How to Fix Blistering or Bubbling Paint
- Preventing Blistering: Avoid painting in direct sunlight or on hot surfaces. Ensure the surface is completely dry before painting, and use a primer if necessary to seal the surface.
- Fixing Blistering: Scrape off the blisters and sand the area until smooth. Clean the surface, apply a primer if needed, and repaint using the correct techniques.
6. Mildew on Painted Surfaces
What Causes It?
Mildew can grow on painted surfaces in areas with high humidity or poor ventilation.
How to Fix Mildew
- Preventing Mildew: Use mildew-resistant paint in areas prone to moisture, such as bathrooms and kitchens. Ensure proper ventilation and reduce humidity where possible.
- Fixing Mildew: Clean the affected area with a solution of bleach and water (1 part bleach to 3 parts water). Scrub the mildew away, rinse thoroughly, and let the surface dry completely. Repaint using mildew-resistant paint.
7. Cracking and Flaking
What Causes It?
Cracking and flaking can occur due to old paint, improper application, or using low-quality paint.
How to Fix Cracking and Flaking
- Preventing Cracking: Use high-quality paint and follow proper painting techniques, including surface preparation and applying appropriate primers.
- Fixing Cracking: Scrape off the cracked paint and sand the area smooth. Clean the surface, apply a primer, and repaint using high-quality paint.
When to Call the Professionals
While many painting problems can be fixed with the right techniques and a bit of patience, some projects are best left to the professionals. If you’re facing extensive damage, complex surfaces, or simply want a flawless finish without the hassle, it’s time to call in the experts.
At Top Rated Painting, we specialize in providing professional painting services to homeowners in Utah and Arizona. Our team of experienced painters is equipped to handle all your painting needs, from interior and exterior painting to tackling those tricky painting problems that DIYers often encounter.
Schedule a Consultation Today
Don’t let common painting problems deter you from achieving the home of your dreams. Whether you’re planning a small DIY project or need professional assistance for a larger job, Top Rated Painting is here to help. Schedule a consultation with us today and let our experts take the stress out of your next painting project.
Contact Top Rated Painting in Utah and Arizona for professional painting services that ensure a flawless finish every time.

