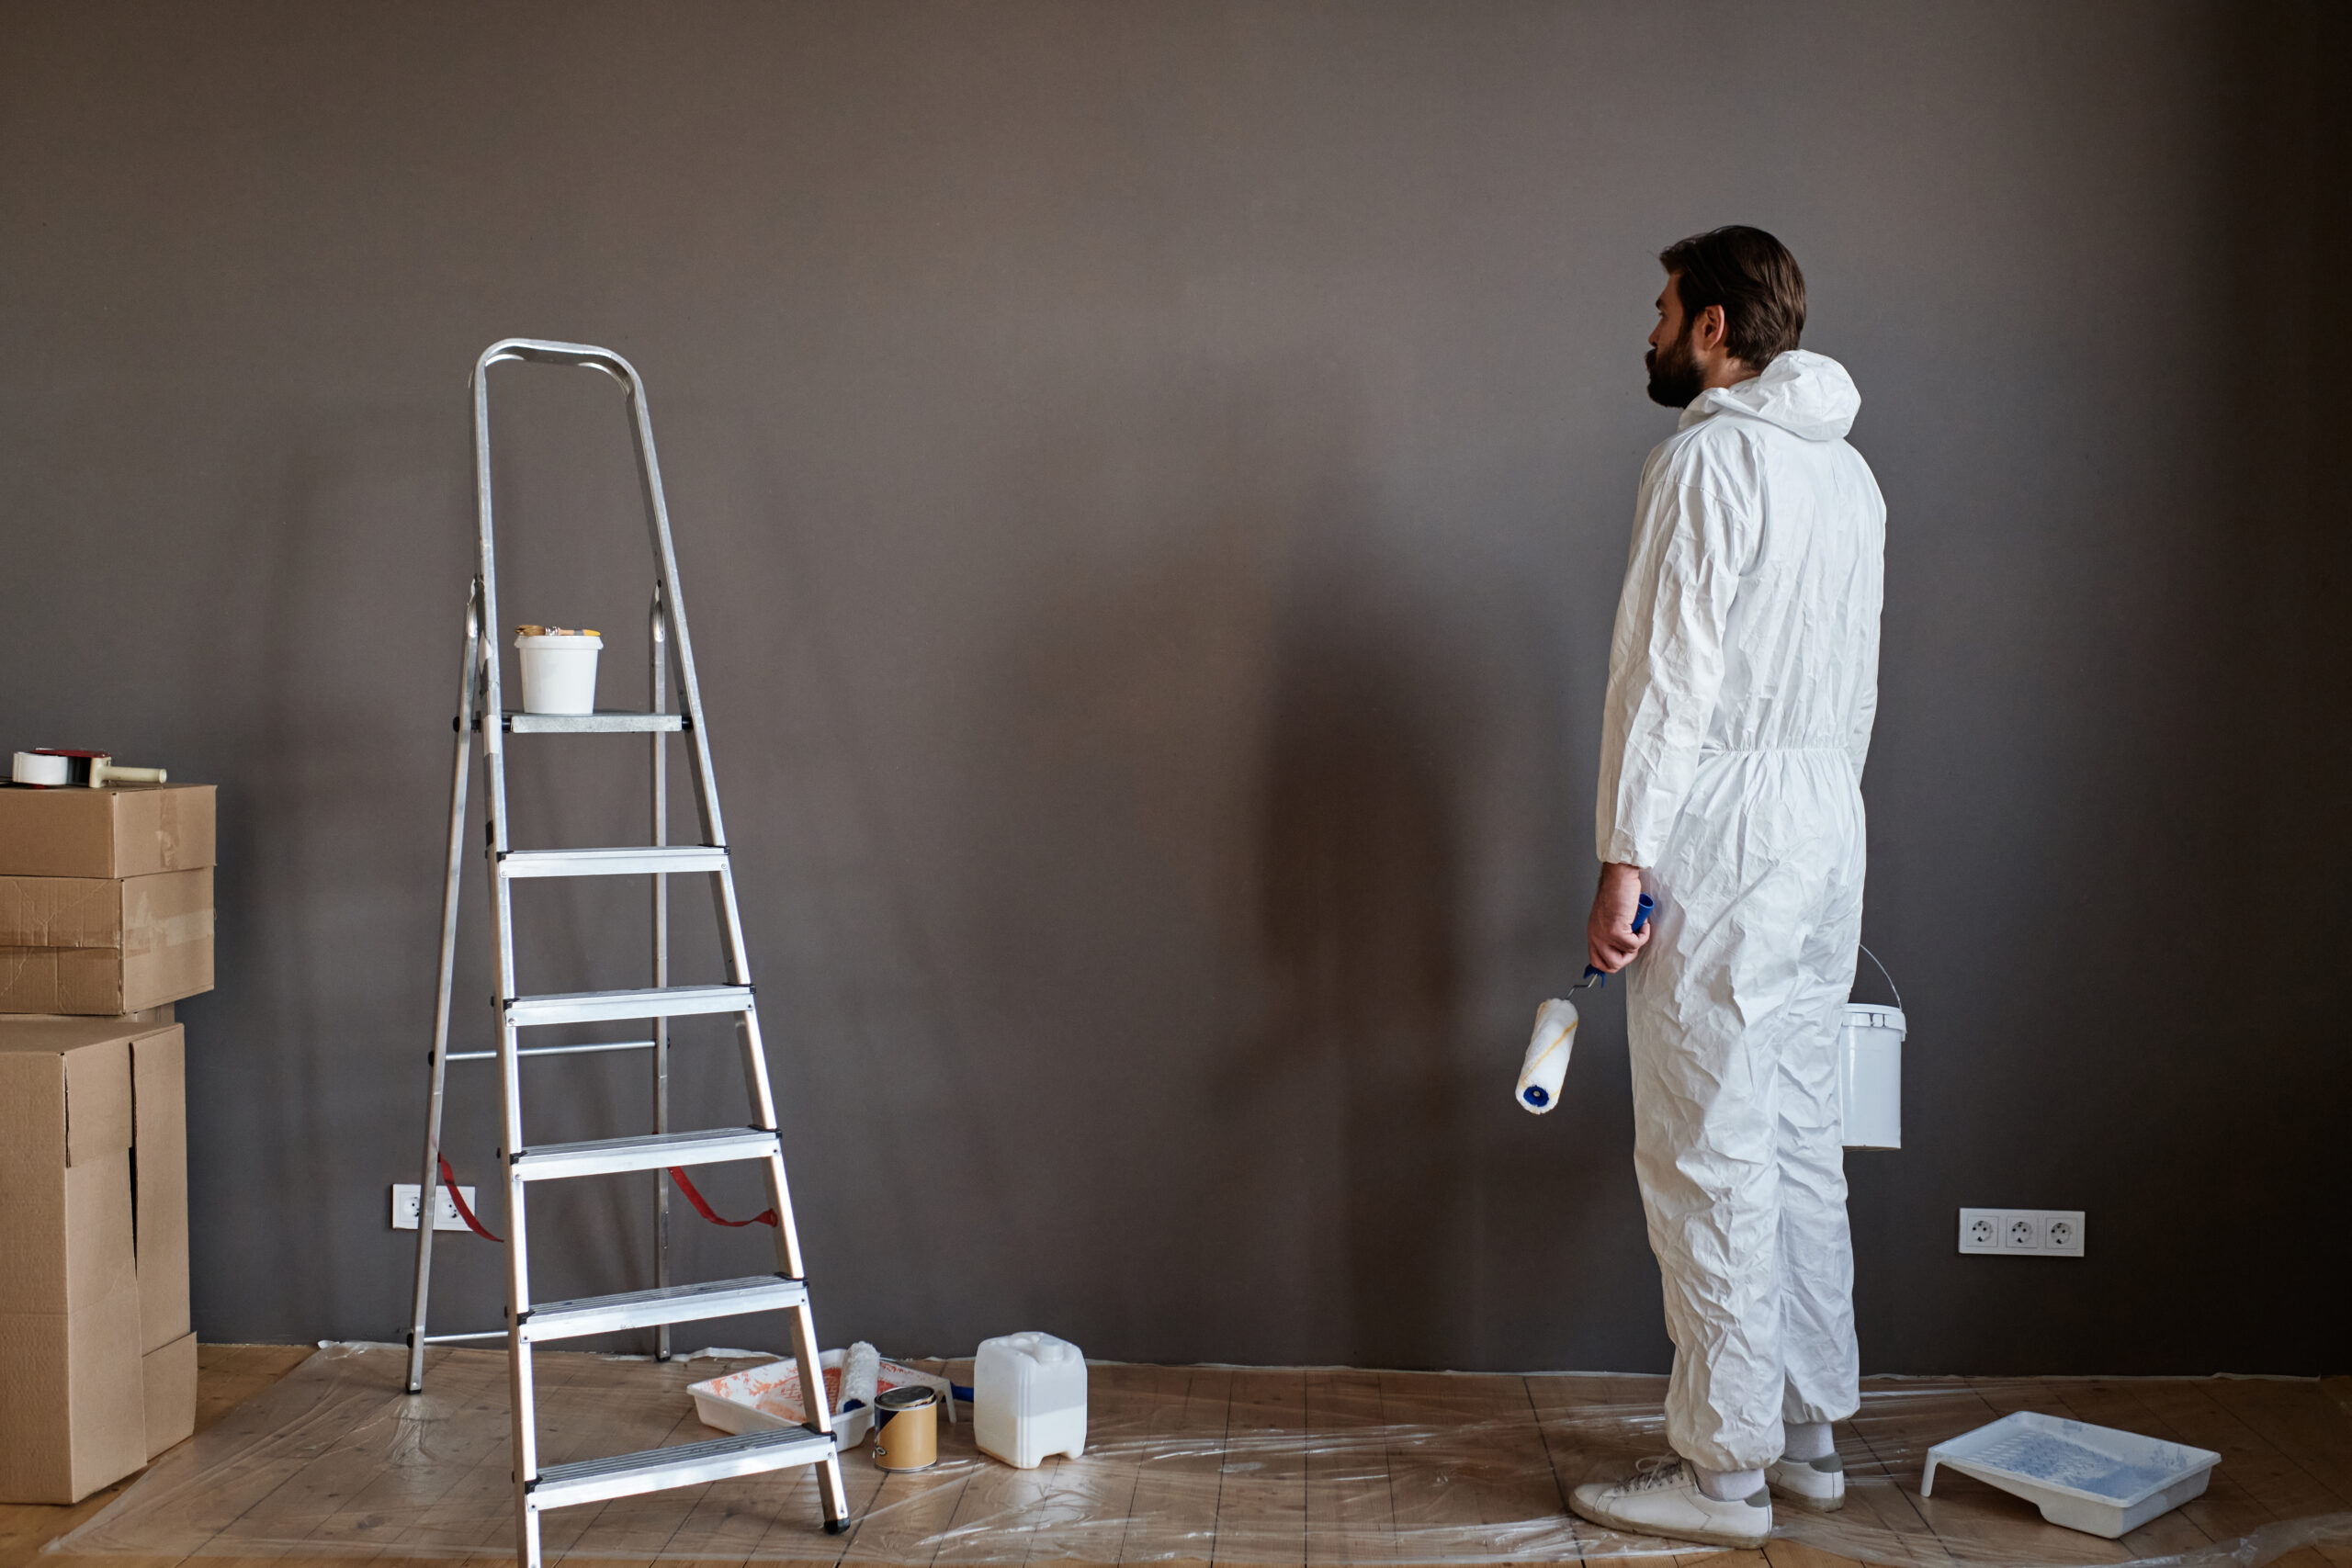
Painting your house’s interior can breathe new life into your home, but achieving a flawless finish requires more than just picking up a brush and a can of paint. To ensure a professional look, you need to know the best techniques and insider secrets. This guide will provide you with top-notch professional painting tips and tricks to transform your living space, making your home feel fresh and stylish.
1. Choose the Right Color Palette

house painting mistake
Choosing the right color palette is crucial. It’s not just about picking your favorite color; it’s about selecting hues that complement your furniture, decor, and the overall ambiance you wish to create. Use color swatches and test samples on your walls before committing. Pay attention to how the colors look in different lighting throughout the day.
2. Invest in Quality Tools and Materials
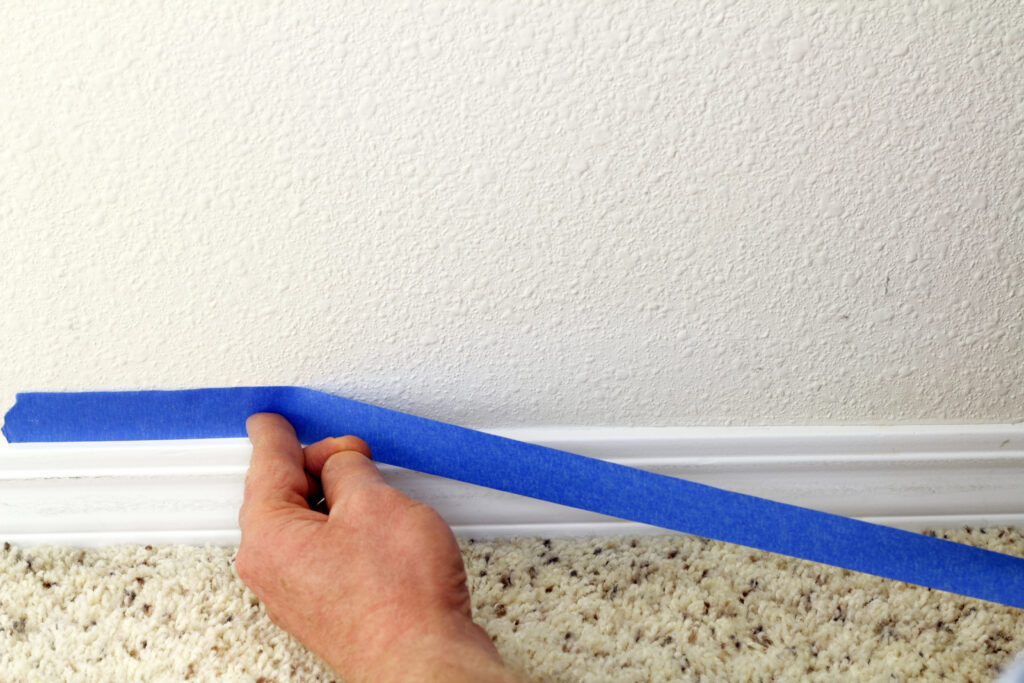
High-quality brushes, rollers, painter’s tape, and paint can make a significant difference in the final outcome. Cheap tools might save you money upfront but often result in an uneven finish and can cause more frustration. Invest in good brushes and rollers to ensure a smooth, professional look.
3. Prepare Your Walls Properly

Preparation is key to a successful painting project. Start by cleaning your walls to remove dust and grease. Fill any holes or cracks with spackle and sand them smooth. This ensures that the paint adheres well and provides a clean, even surface.
4. Use Primer for a Perfect Base
Applying a primer before your paint ensures better adhesion, durability, and a truer color. Primer can also hide imperfections and provide a uniform base for your paint. This step is especially important if you’re covering a dark color with a lighter one or painting new drywall.
5. Master the Cutting-In Technique
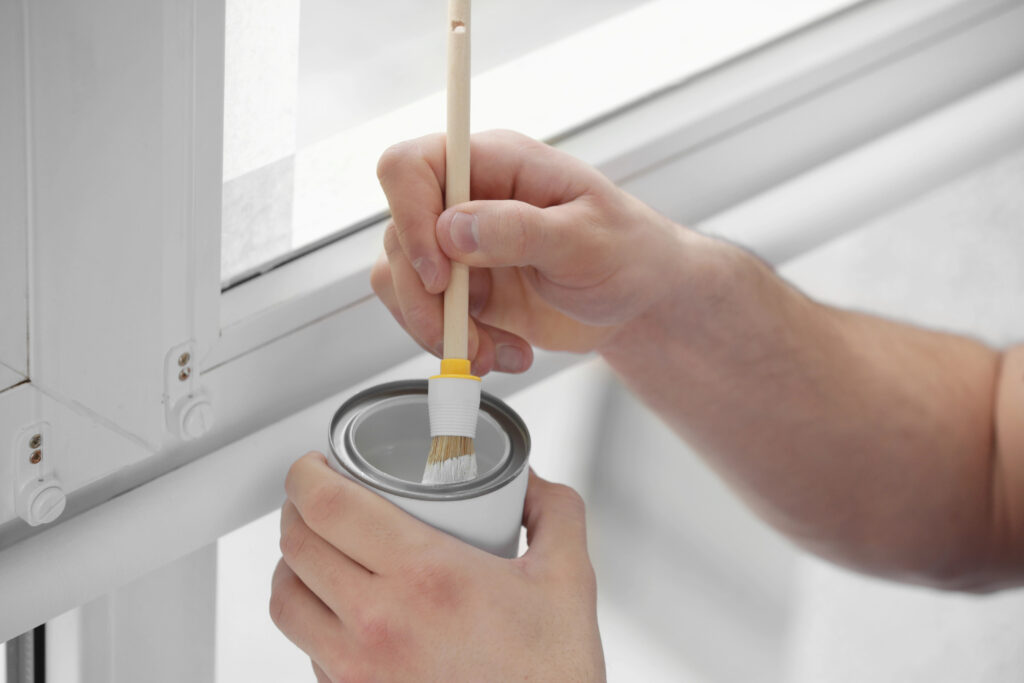
Cutting in is painting the edges and corners of walls where rollers can’t reach. Use an angled brush and paint in a straight line along the trim, ceiling, and baseboards before you start rolling the main sections. This technique requires a steady hand but will give your paint job a polished look.
6. Apply Paint in the Right Order
Always start with the ceiling, then move on to the walls, and finish with the trim. This order prevents paint drips and splatters on freshly painted areas. If you’re painting multiple rooms, complete one room at a time to maintain focus and consistency.
7. Roll Paint Like a Pro

To avoid streaks and lap marks, load your roller evenly and use a ‘W’ or ‘M’ motion to distribute the paint. Overlap each stroke slightly and maintain a wet edge to ensure a smooth, uniform finish. Apply two coats for the best coverage and depth of color.
8. Don’t Forget Ventilation
Proper ventilation is crucial for drying and reducing paint fumes. Open windows and use fans to keep air circulating. If possible, choose low-VOC (volatile organic compounds) paints, which are better for indoor air quality and the environment.
9. Clean Up as You Go
Keep your workspace organized and clean up spills immediately. Wash brushes and rollers between coats if you’re taking a break. Proper maintenance of your tools ensures they last longer and perform better throughout your project.
10. Add Finishing Touches

Once the paint is dry, inspect your work for any missed spots or touch-ups needed. Carefully remove painter’s tape to avoid peeling paint. Consider adding decorative touches like accent walls, stenciling, or textured finishes to add personality and flair to your space.
Conclusion
While small painting projects can be a fun and rewarding DIY task, larger projects often require the expertise and efficiency of a professional house painter. Professionals ensure that the job is done right the first time, providing you with a high-quality finish that stands the test of time.
If you’re ready to seek professional help in transform your living space with a fresh coat of paint, schedule a free estimate with Top Rated Painting today and let their professionals bring new life to your home.


